Creating favourites
Creating favourites
![]() Video: Customizing a Room screen
Video: Customizing a Room screen
Favouriting rooms
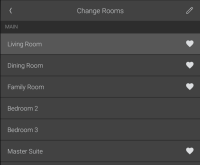
The current room name displays at the top of the screen.
To add rooms to your favourites:
Open the room list from the top of the interface screen. The Change Rooms list opens.
Select the
 (edit) icon.
The list changes to Edit Favourite Rooms, with a
 (favourite) icon next to each room.
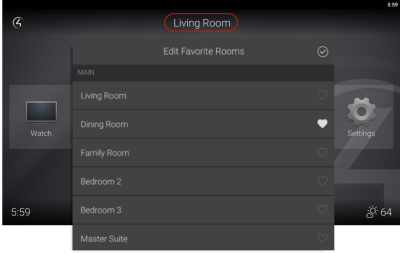
- Tap the (favourite) icon next to each room to favourite.
- When you are done selecting favourite rooms, tap the
 (OK) icon in the upper right corner of the list, then exit the menu.


To change control to a favourite room:
- At any Room screen, swipe the screen left or right. The favourited rooms slide into view.
Favouriting icons for Room screens
To add favourite icons to your Room screen:
- On a touchscreen or mobile app, select the room you'd like to add favourite icons to.
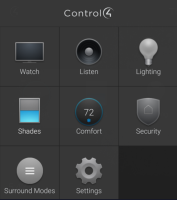
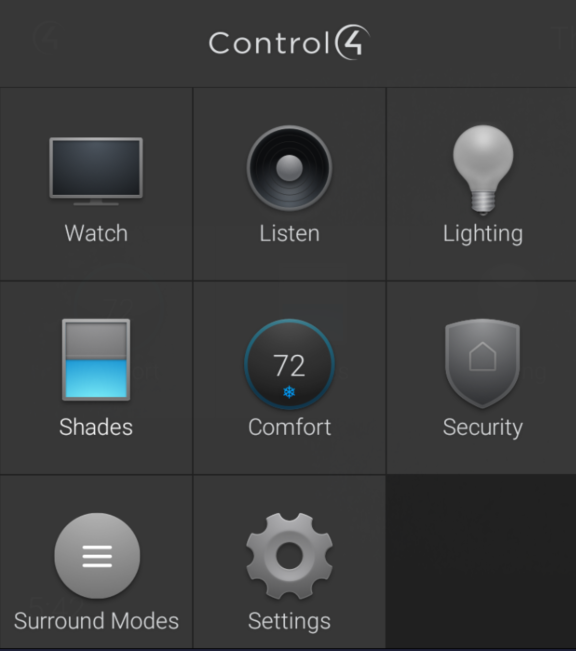
Tap the Control4 logo in the upper-left corner to open the Room menu. All available experiences (device types) in that room appear in a tiled list.
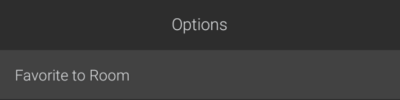
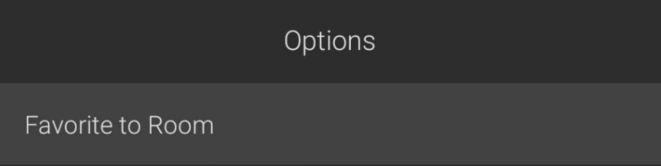
Tap and hold the icon you'd like to be visible whenever the room is selected, then select Favourite to Room. The icon is added to the Room screen and will be visible whenever the room is selected from any interface.
To rearrange or remove favourite icons from your Room screen:
In the Room screen, tap and hold one of the icons, then select Arrange and Remove Favourites. You are returned to the Room screen, but now each icon has a small
 (delete) icon at the upper left.
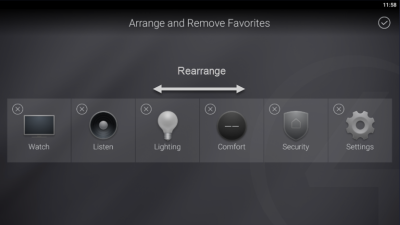
- To rearrange the favourite icons, tap and drag the icon, then release it.
- To remove a favourite icon, tap the small (delete) icon at the device icon's upper left.
- When you are finished making changes, tap the (OK) icon at the upper-right corner of the screen.

Favouriting lighting and scenes
To add a favourite light or lighting scene to the current Room screen:
In the Room screen, open the Room menu, then select Lighting.

The Lighting screen opens.
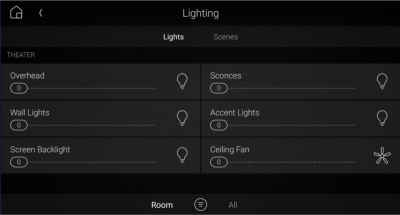
- Tap Lights to view lights, or tap Scenes to view lighting scenes.
Tap and hold the icon to the far right of the light or scene, then select Favourite to Room.
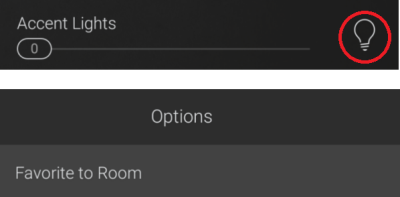
The icon is added to that Room screen and will be visible on the TV on-screen interface.


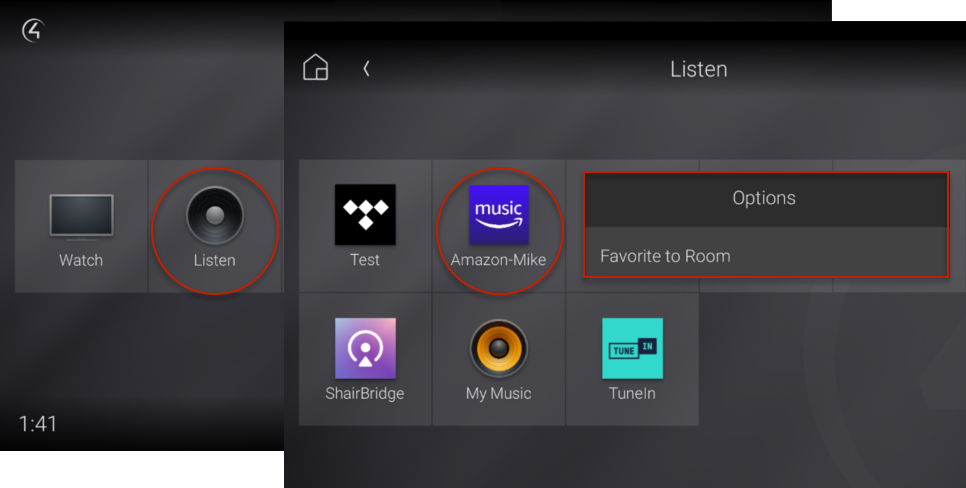
Favouriting Listen and Watch sources
To add an audio or video source to the current Room screen:
With any room selected in the interface, select the Listen or Watch icon.
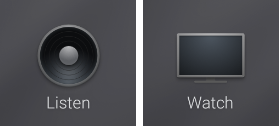
The Listen or Watch screen opens.

- To add a digital music service to the Room screen, tap and hold the service's icon, then select Favourite to Room.
- To add a TuneIn or Pandora station to the Room screen, tap and hold the station, then select Favourite to Room.
- To add a video source to the Room screen, tap and hold the video source's icon, then select Favourite to Room.
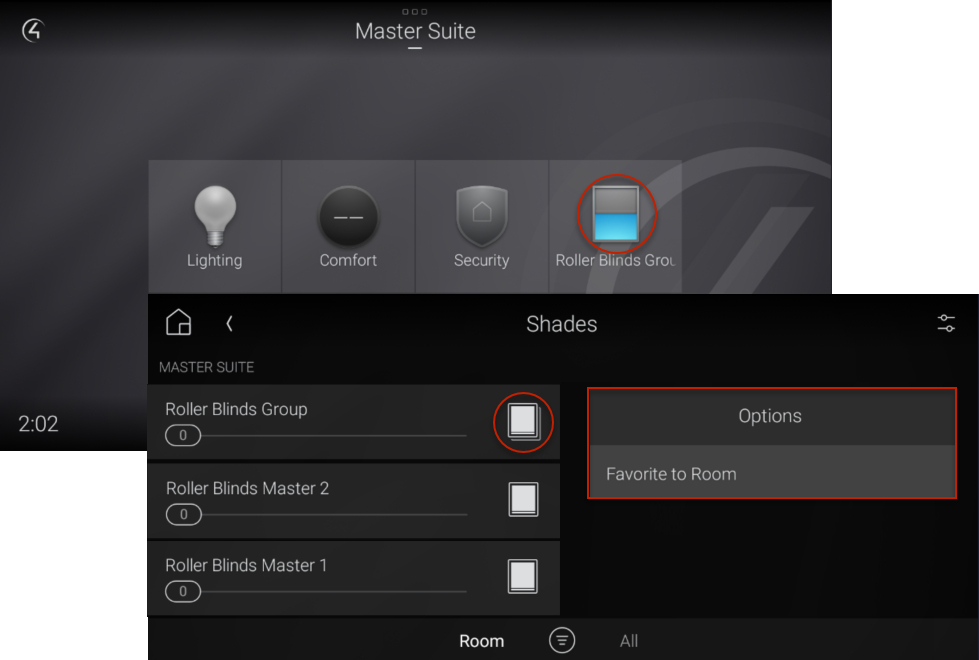
Favouriting blinds and shades
To add shades and blinds to the current Room screen:
With any room selected in the interface, select the Shades icon.

The Shades screen opens.

- Tap and hold the icon to the far right of the blind or shade, then select Favourite to Room.
Favouriting locks and sensors
To add locks and sensors to the current Room screen:
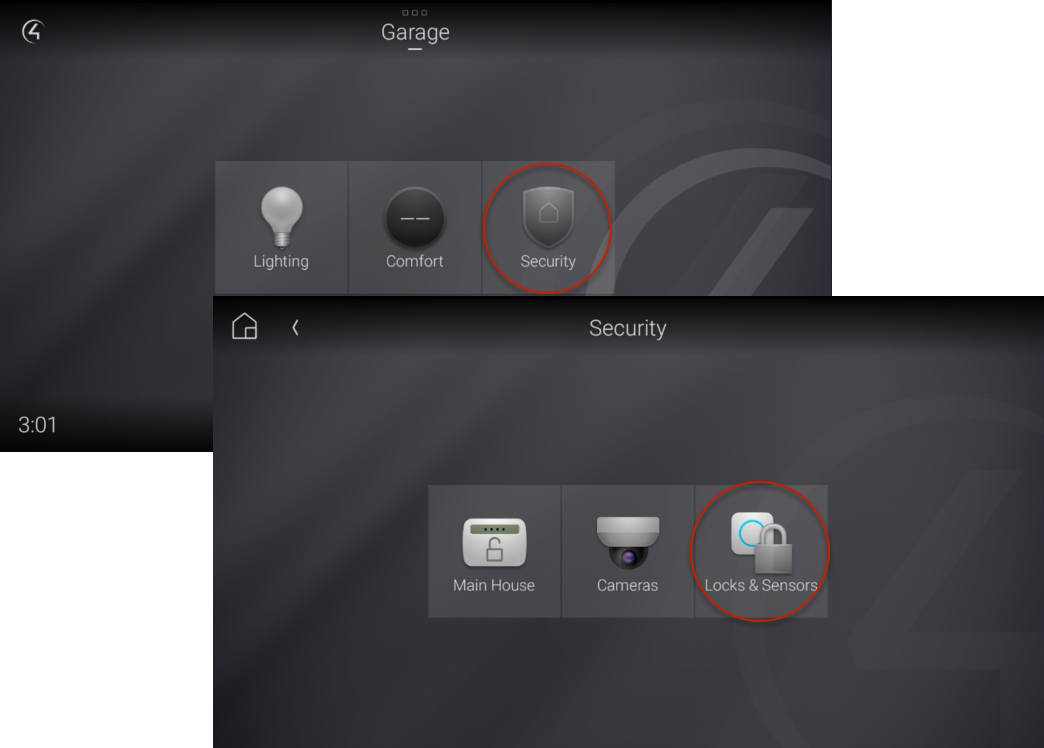
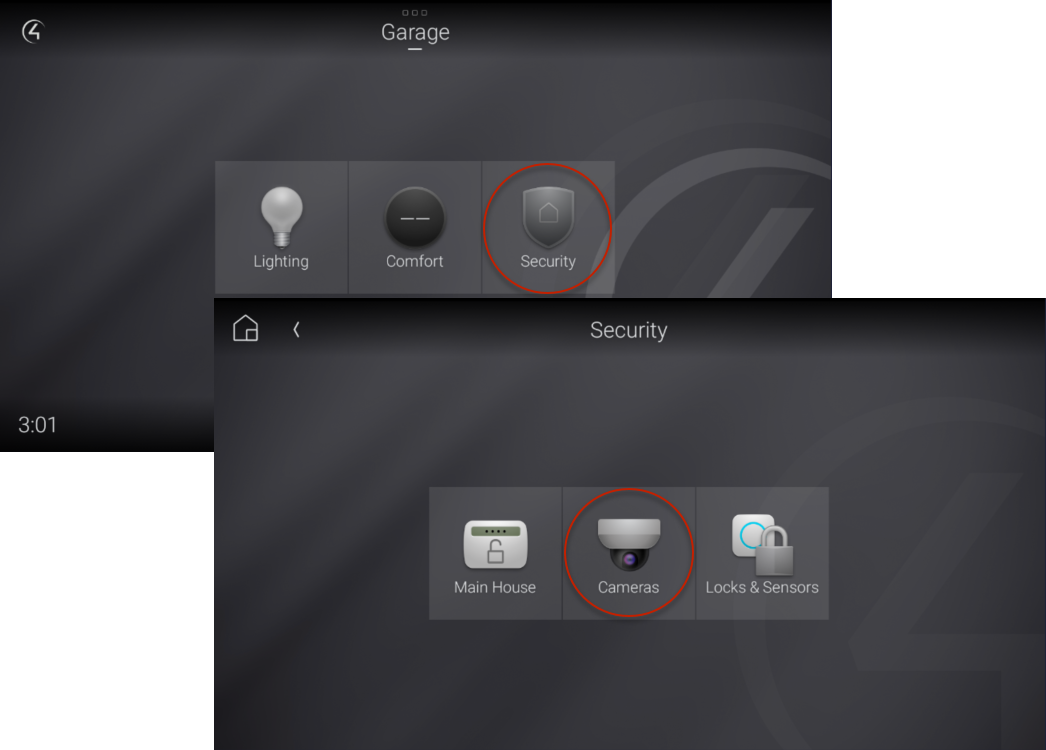
Select any room that has smart locks or sensors installed, tap the Security icon, then tap Locks & Sensors.

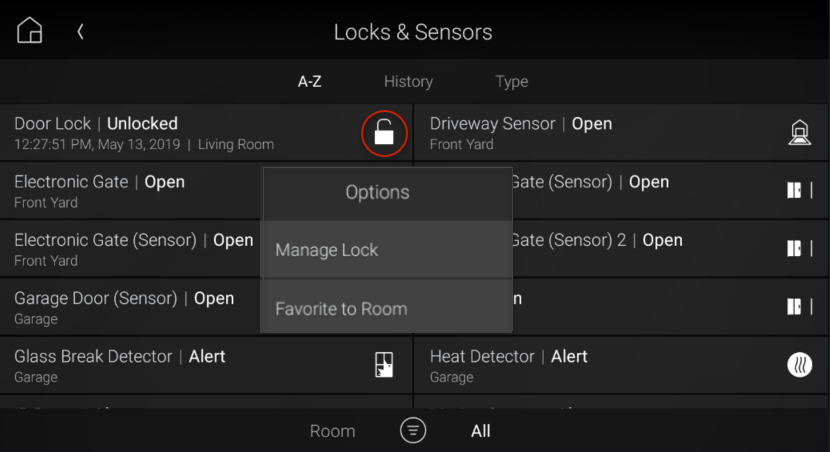
The Locks & Sensors screen opens.
- Tap A-Z to view lock & sensor names in alphabetical order, tap History to view a security/sensor event log, or tap Type to group locks and sensors by type.
Tap and hold the icon to the far right of the lock or sensor, then select Favourite to Room.
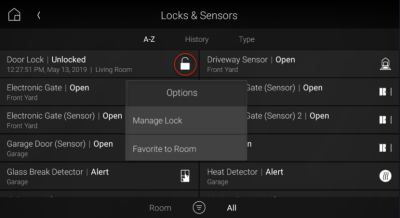
The lock/sensor is added to the Room screen.
Favouriting security partitions
To add a security partition to the current Room screen:
- Open the Room menu, then tap and hold the security icon. Available security partitions are listed.
- Tap the security panel icon that represents the security partition you want to favourite, then select Favourite to Room.
Favouriting camera views
To add camera views to the current Room screen:
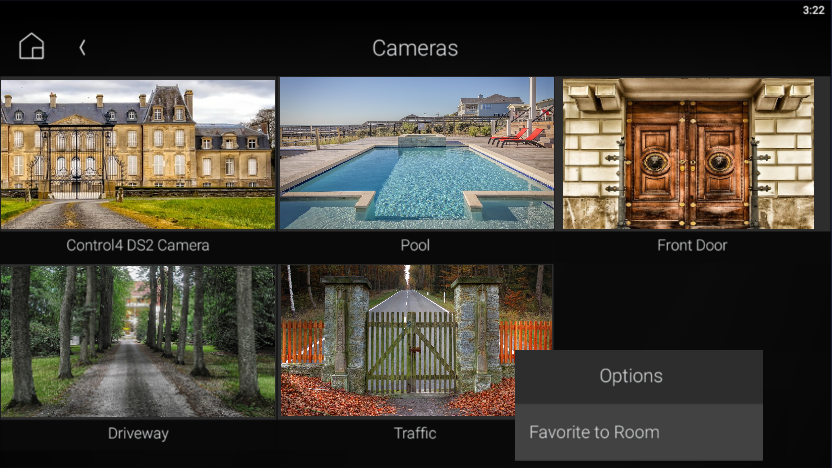
In a Room screen, tap the Security icon, then tap Cameras.

The Cameras screen opens, showing thumbnail images of the camera views.
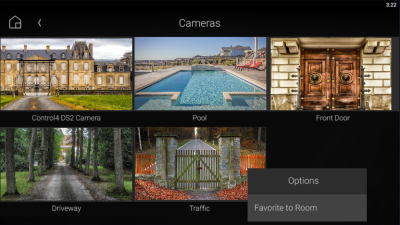
- Tap and hold the thumbnail. The camera view is added to the Room screen.
Favouriting a pool or spa
To add pools or spas to the current Room screen:
With the pool's "room" selected (remember outdoor locations can be defined as "rooms"), tap Comfort, then tap and hold the Pools icon.

If you have more than one pool but want to pin only one to the Room screen as a favourite, tap the Pools icon, then tap and hold the pool you want to add.
Tap Favourite to Room.
Related Articles
Using the Lighting menu
Using the Lighting menu On touchscreens and the Control4 app, the Lighting menu lets you adjust the lighting in your home. You can view the lights in all rooms and on all floors without changing the room displayed on the interface. Video: Using ...Intercom settings
Intercom settings Use Settings to adjust intercom preferences for your mobile device or touchscreen. On the mobile app, you can set Do Not Disturb, Ring Tone, Video Quality, and more. On a touchscreen, you can set Do Not Disturb, Auto Answer, volume ...Using lighting scenes
Using lighting scenes Lighting scenes are a popular way to use keypads. Your Smart Home Pro can help you create lighting scenes, or you can create them yourself using Composer HE, custom automations, a touchscreen, or the Control4 app. ...Security basics
Security basics Your Control4 system means more than just convenience—it means safety, as well. Use your automated home to monitor and control your security system, know when doors or windows are open, monitor security cameras and video doorbells, ...Using your thermostat
Using your thermostat Whatever thermostat your home uses, Control4 gives you an easy-to-use interface for adjusting the climate. You can control temperature, humidity, and fan settings from your home or across the globe. Control4 does more than just ...